
DeckSight Tips & Info
Updated 8/24/25
Specs: (As currently working in the Steam Deck)
Display Technology: AMOLED
Size: 7” diagonal (slightly shorter and wider than stock)
Resolution: 1920 x 1080 (up from 1280 x 800)
Color Depth: 10-bit, 1.07 billion colors (up from 8-bit, 16.7 million colors)
Brightness: 800 nits
Surface Options:
Matte: Anti-glare and anti-fingerprint etched glass (similar to highest end stock LCD)
Gloss: Anti-fingerprint coating
Refresh Rate: 80hz
Contrast Ratio: > 1,000,000:1
HDR: Working in SteamOS just as the OLED model does.
Panel Capabillities (Not supported or not yet working on the Steam Deck
Refresh Rate: 144hz
Internal Upscaler:
Technically capable of supporting several lower, hardware scaled resolutions, like 720P
Installation and Updates
Initial Install
Initial installation is done via the methods in the first installation page. “Automated Install” is the preferred way to do things to avoid issues.
Updates
Updates are a bit simpler, there’s no need to connect an external monitor (Unless you really want to). Every time the decksight.desktop.download file is executed it pulls and installs the latest release from the git repo and it will overwrite whatever version was installed prior. It’s probably always best to let everything install, including flashing the new BIOS whenever updating.
You should ALWAYS WAIT for the BIOS to finish flashing and reboot completely before touching anything. Sometimes it takes a couple of minutes.
Update notification
The DeckSight stuff isn’t part of any official update channel so you can’t be notified via the OS. Since the release packages are hosted on Github, a good way to be notified of an update is to “watch”, and “Subscribe to Events” for DeckSight releases. You will obviously need to have a Github account for this. This should get you some email updates about new releases:
Watch: Custom: Releases:


Discussion
The Github Discussion is also now open in DeckSight-public. It’s mostly just the discussion template but it should be pretty useful since people were starting to congregate around the Git repo anyway. Feel free to post something but be cool
OS Tweaks
Display Settings: Screen Rotation, Refresh Rate
Whenever the installer is run it deletes the screen configs to avoid conflicts. This will likely result in the screen being rotated to “portrait mode” in the desktop at first. Pretty much all small display panels are native portrait (including stock LCD) so without the OS being specifically configured to rotate it, you have to do it in settings
Navigate to Settings -> Display -> Display Configuration
Click the rightmost orientation
You can also adjust the refresh rate here but for Desktop use only 60hz is available and 60hz will use a bit less power. In Gamescope it will reach 80hz.

Gamescope tweaks
Resolution
Gamescope generally just picks everything up and there isn’t much configuration necessary. There has been a few reports of the image being smaller than the display. While I’ve never seen this issue, it seems to come from some prior configuration or setting, or maybe for some reason Gamescope has not automatically detected the resolution. In any case it seems it can be fixed by just going to Settings->Display->Maximum Game Resolution and setting it to 1920x1080:

Brightness
Currently the brightness will not work in Gamescope via the normal brighntess adjustment, though there is some control once HDR is triggered. See below in the Brightness section for the current solution
Brightness
UPDATED 9/15/26
The Steam Deck is wired in such a way that it doesn’t send the standard set of commands for simple things like brightness control to the stock LCD. If that were the case brightness would “just work” in DeckSight. Instead it circumvents the LCD itself and controls the backlight via the EC.
This is a fairly late update but Hardware brightness actually has been working with DeckSight for some time now. Originally it relied on a Decky Plugin in Gamescope and a software brightness app (brightness-wrangler) in the Desktop but that has changed. The method of delivering commands from userspace to the Deck’s hardware was found some time ago. The tool decksight-brightnessctrl now handles that. It is installed via the normal installer and operates seamlessly. There is no Windows version of the tool so it will not work in Windows. SteamOS and Bazzite are supported via the installer and these are the only 2 OS’s that are really tested so it will work on either. It’s likely to work on other Linux distros as well but unless otherwise stated it is up to the user to figure out if it works or not.
Gamescope (Decky Plugin)
At lower brightness levels it is difficult to keep color consistent and avoid artifacts from appearing due to the way OLEDs behave at low hardware brightness levels. Prior to the above mentioned hardware brightness tool being created the typical method of controlling brightness in Gamescope was to use this Decky Plugin. This plugin is not really necessary anymore but if you intend to use it at very low brightness levels, Instead of reducing the normal brightness below 50% it can be better to use this Decky Plugin to reduce it further. That avoids some of the color shift and possible artifacts. This plugin was originally designed for the OLED model Steam Deck and is not part of the DeckSight project.

Then, go to General -> Store Channel -> Testing:
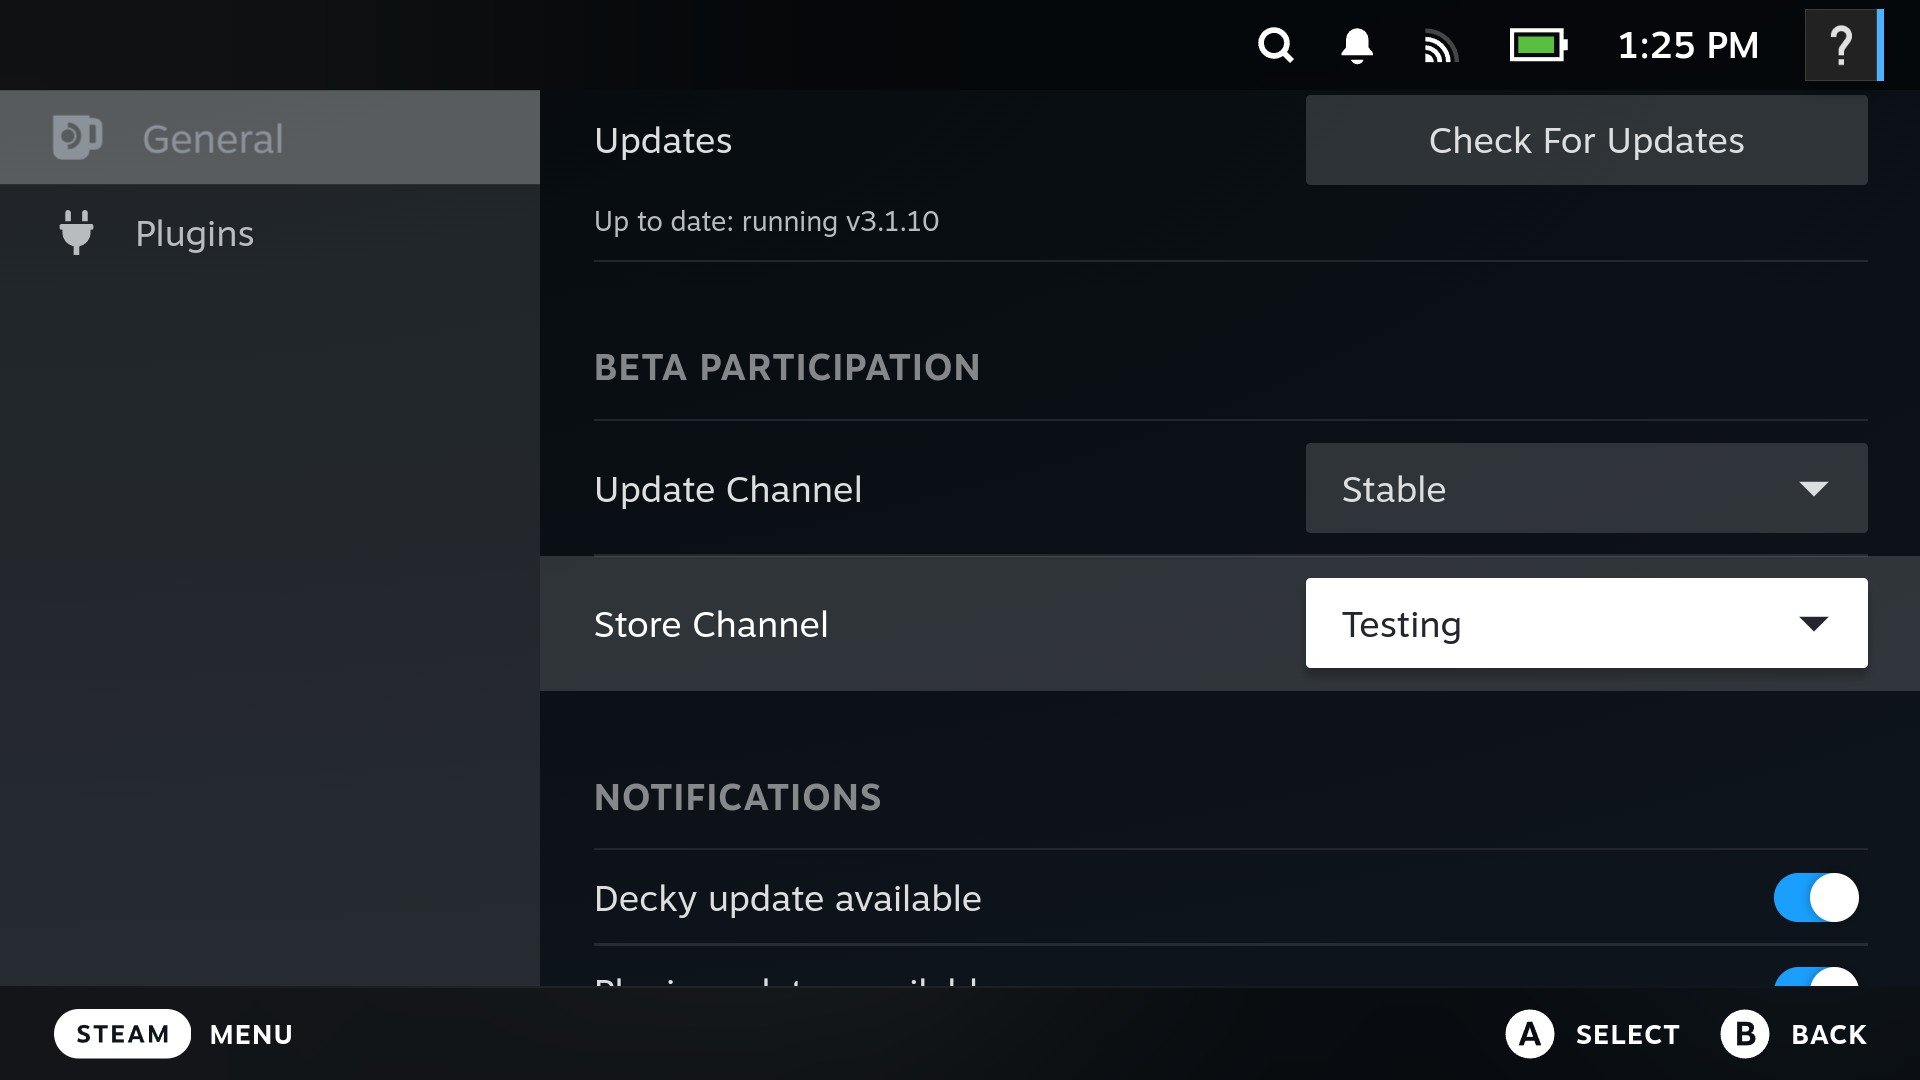
Next back out of settings to the Decky Main UI, go to the Decky Marketplace

Next, search for PWMless-brightness and install it:

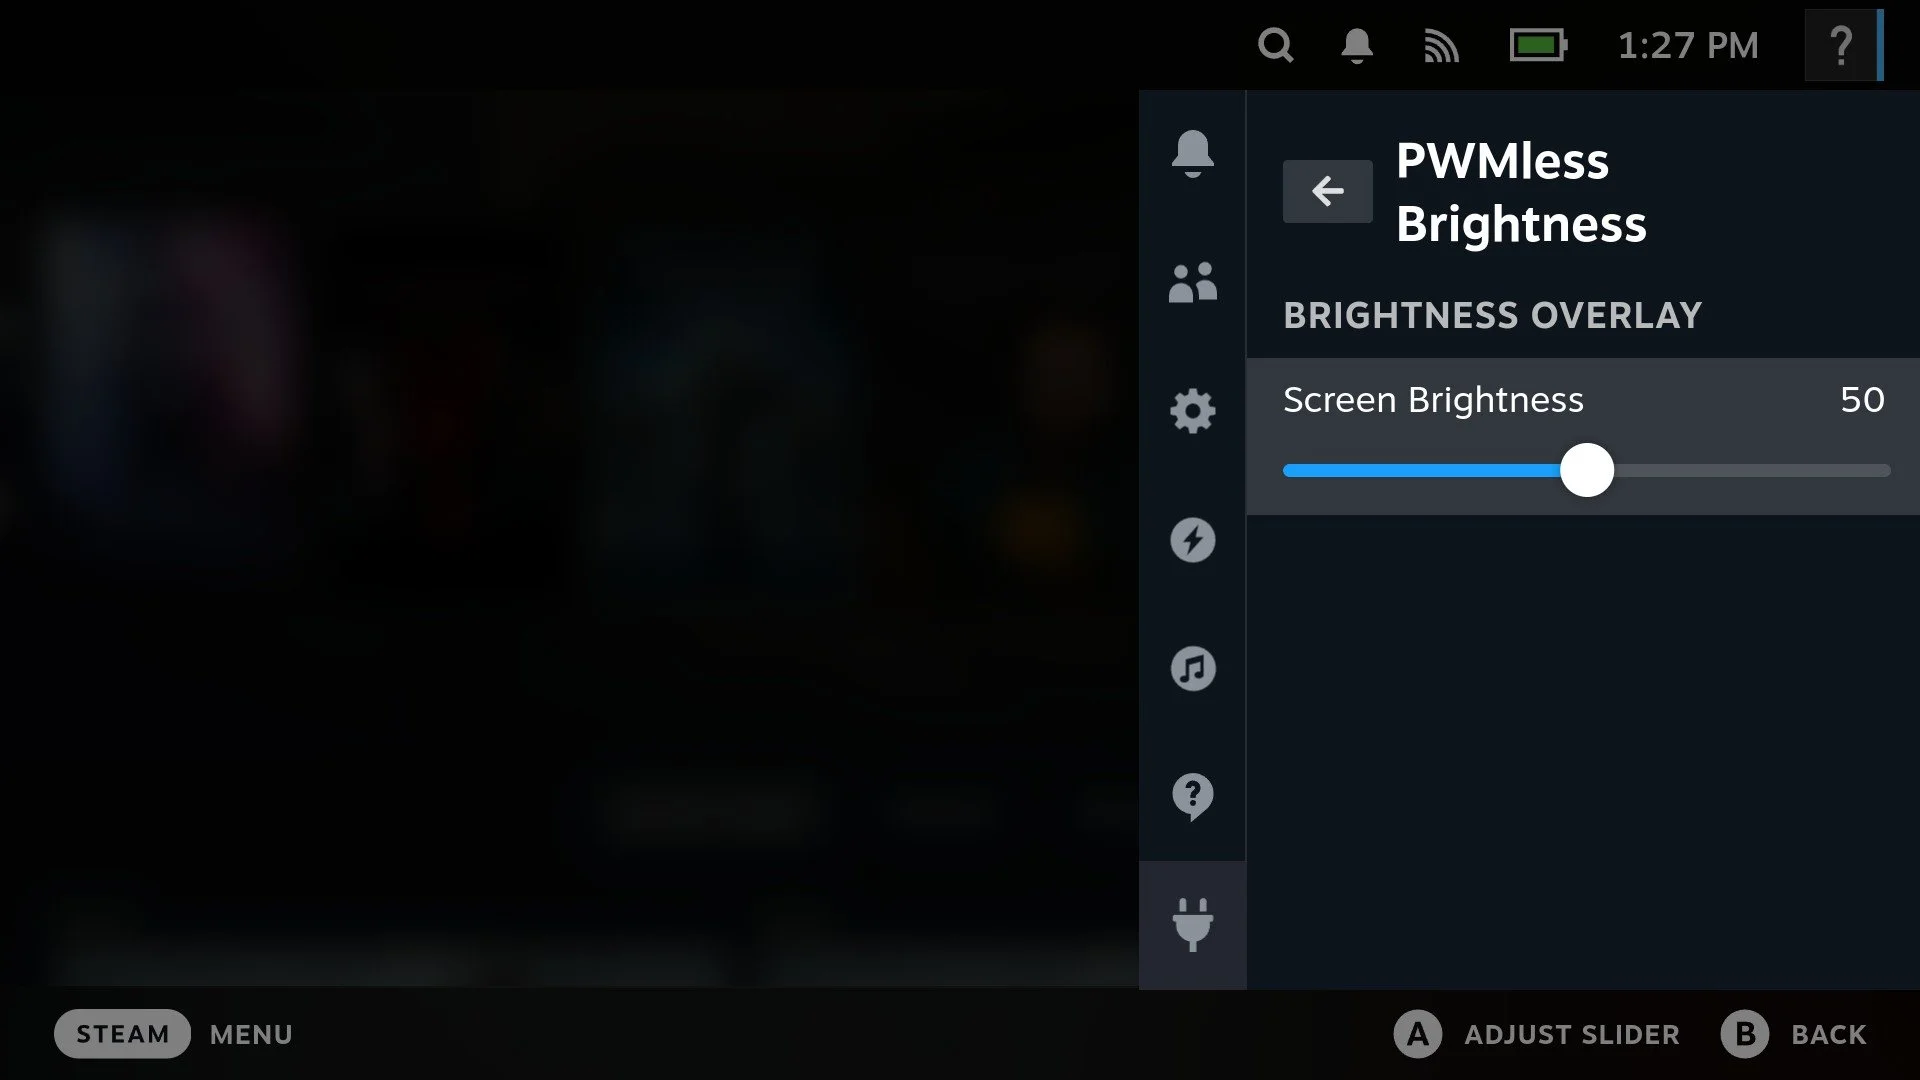
Now, when you select PWMLess Brightness from the Decky panel, you have a slider that can reduce the brightness, with the exception of some UI elements that are not covered. Note this doesn’t do anything with the standard brightness slider. The normal slider is only semi-active when an HDR enabled game triggers it
Color
DeckSight is a wide-gamut 10bit panel, meaning it can display a large amount of color that the LCD cannot. In most circumstances on the Steam Deck it can only be presented with 8bit color but the panel will interpolate it to 10bit internally. It’s not clamped to match the color of the LCD, because that would be limiting via hardware. Most modern environments will “color manage” a display by reading it or some file that can be referenced for the display.
Update 9/15/26:
Recent updates to SteamOS now have it running under Wayland by default rather than X11 in desktop mode. They also seem to have implemented colorimetry being read from the EDID and applied to the compositor. The result is that the oversaturation that used to be noticeable with DeckSight before using the ICC profile is much improved without doing anything special. It is still possible and even easier to use the ICC profile now however it is much less necessary
SteamOS & Bazzite desktop:
Both distros pretty much work the same now. Download the ICC profile and save it somewhere. In Desktop mode: Go to settings → display and select the drop down for ICC profile. Navigate to where you saved the profile and click apply. In later versions of the installer it is automatically placed in /home/deck/.local/share/icc/DeckSight.icc, you will still have to select it manually in display settings as mentioned here.
Gamescope:
Gamescope is color managed from the lua file that is installed by the installer. Nothing else to do.
TouchScreen
The Touchscreen on DeckSight uses a newer controller and is generally better than the touchscreen on the stock LCD. That does not mean it is some crazy gaming touchscreen with super high polling rates like it was a gaming mouse, that’s not how touchscreens work. DeckSight uses a custom touchscreen firmware that makes it operate in Linux and Windows as a standard device, meaning it does not need special drivers or software.